Master Test Automation with Python
When people talk about test automation, they’re often talking about Python. It’s the practice of using Python and its specialized libraries to write scripts that check if your software is working as expected.
It has become the go-to for a reason. Python’s straightforward syntax, combined with powerful frameworks like Pytest and Selenium, makes building reliable testing solutions for web, API, and mobile apps much faster and more accessible.
Why Python Is the Engine of Modern Test Automation
Before we jump into writing code, it’s worth understanding why Python dominates the test automation world. The relentless pace of agile development and CI/CD pipelines demands testing that isn’t just comprehensive but also incredibly fast and efficient.
Python hits that sweet spot perfectly, offering serious power without the steep learning curve. Its clean, readable syntax means that more people on the team—not just hardcore developers—can jump in and contribute to quality. That readability pays dividends down the line, leading to test suites that are far easier to maintain and scale.
Core Strengths for Automation Engineers
What really gives Python its edge is the incredible ecosystem of libraries and frameworks. It’s a massive toolbox that lets engineers automate pretty much any task you can think of.
- Web UI Testing: Libraries like Selenium and Playwright give you rock-solid tools for controlling web browsers and simulating user actions with high precision.
- API Validation: The
requestslibrary makes sending HTTP requests and checking API responses almost trivial, taking the pain out of backend testing. - Versatile Frameworks: Pytest provides a flexible and powerful foundation for structuring your tests, managing dependencies with fixtures, and generating useful reports.
This versatility is a huge win. You can build a complete testing strategy that covers every layer of your application, all using one language. This avoids the fragmentation you often see when teams have to stitch together different tools for different testing needs.
For engineers looking to build robust automation, Python’s advantages are clear and practical.
| Key Python Advantages for Test Automation | | :--- | :--- | | Feature | Benefit for Test Automation | | Simple, Readable Syntax | Lowers the entry barrier, making test scripts easier to write and maintain for the whole team. | | Massive Library Ecosystem | Provides ready-made tools for web, API, and mobile testing, so you’re not reinventing the wheel. | | Strong Community Support | A huge, active community means you can find answers, tutorials, and third-party packages for almost any problem. | | Cross-Platform Compatibility | Python runs everywhere—Windows, macOS, Linux—ensuring your test suites are portable. | | Excellent Integration | Easily connects with CI/CD tools like Jenkins, GitLab CI, and GitHub Actions, fitting right into your existing workflows. |
Ultimately, these features combine to make Python a pragmatic and powerful choice for any modern QA team.
The real power of test automation with Python isn’t just in the code itself, but in the community and ecosystem supporting it. You’re rarely starting from scratch; there’s almost always a library or an established pattern to solve your specific automation challenge.
Market Growth and Future Outlook
The demand for these skills is exploding. The software quality automation market was valued at USD 55.6 billion in 2024 and is projected to hit nearly USD 130 billion by 2035.
This massive growth highlights just how critical effective automation is to modern software delivery. As companies pour more resources into quality, Python automation has become a non-negotiable skill for QA professionals. You can find more details on these software quality job market trends on techstartacademy.io.
Building a Bulletproof Python Testing Environment
Any solid test suite is built on an equally solid foundation. You wouldn’t build a house on shaky ground, so why write tests in a messy, disorganized environment? Taking a moment to set up a clean Python testing environment is the first real step toward automation that’s scalable, clean, and easy for the whole team to manage.
This initial setup saves you from countless headaches later, especially the dreaded dependency conflicts. We’ve all been there: a library update for one project completely torpedoes another. This is exactly what virtual environments were made to solve. They create isolated sandboxes for each project, making sure its specific dependencies stay separate and consistent.
The Power of Isolated Environments
Think of a virtual environment as a self-contained bubble for your project. Inside this bubble, you can install specific versions of libraries like Pytest and Selenium without touching your global Python installation or any other projects on your machine. For professional test automation with Python, this isn’t just a good idea—it’s non-negotiable.
Getting started is simple with Python’s built-in venv module. Just navigate to your project’s root directory in your terminal and run this:
python -m venv venv
That one command creates a venv folder containing a fresh copy of the Python interpreter and its package manager, pip. To actually use it, you need to activate it.
- On macOS/Linux:
source venv/bin/activate - On Windows:
.\venv\Scripts\activate
Once it’s active, you’ll see your terminal prompt change. That’s your cue that you’re now working inside this isolated space, and any packages you install from here on out will be confined to it.
Managing Dependencies for Reproducibility
With your environment active, the next move is to get your project’s dependencies under control. The gold standard here is a requirements.txt file, which is just a simple text file listing all the Python packages your project needs to run.
Creating this file means any developer joining the team can replicate the exact testing environment with a single command. It’s the ultimate fix for the “it works on my machine” problem.
Let’s start by installing the core libraries for our automation suite:
pip install pytest selenium
After they install, lock in these versions by generating the requirements.txt file:
pip freeze > requirements.txt
By standardizing your setup with virtual environments and a
requirements.txtfile, you’re not just organizing code; you’re building a reproducible and scalable framework. This professionalism is what separates brittle, one-off scripts from a true, enterprise-grade automation suite.
This disciplined approach is a huge part of why Python is still the top choice for testers. In fact, its dominance is expected to continue through 2025, thanks to its incredible ease of use and powerful ecosystem. You can find more insights on why Python is the go-to language for QA pros in this comprehensive automation trends report on testguild.com.
Getting Hands-On with Pytest and Selenium
Alright, with our environment set up, it’s time to get down to business and write tests that actually solve real problems. Theory is great, but the true value of test automation with Python comes from turning real user journeys into code that’s both reliable and repeatable. This is where Selenium comes in, acting as the bridge between our Python script and a live web browser.
Think of Selenium as the engine that drives the browser—it finds elements on a webpage, clicks them, types into them, and reports back on what happened. On the other hand, Pytest provides the framework and intelligence to organize, run, and scale our tests effectively.
Targeting Elements and Simulating User Actions
Let’s walk through a classic user flow: logging into an e-commerce site. The user needs to find the username field, type in their name, find the password field, enter their password, and finally, click the login button. Selenium lets us automate this sequence perfectly.
To do this, Selenium gives us several strategies, or “locators,” to find elements on the page:
- By ID: This is your best bet. IDs are supposed to be unique, making them the most stable and reliable way to grab an element.
- By Name: Really handy for form elements, which often have unique
nameattributes. - By CSS Selector: A very powerful and flexible method. If you know CSS, you can find just about anything.
- By XPath: The most powerful locator of them all. It can navigate the entire HTML structure, but be warned—it’s also the most brittle. A small change in the page layout can easily break your XPath locator.
For instance, finding a username field in Python might look like this: username_input = driver.find_element(By.ID, "user-name"). Once we’ve got ahold of the element, we can simulate typing into it with username_input.send_keys("standard_user"). These simple commands are the fundamental building blocks of any UI test.
Structuring Tests with Pytest Fixtures
You could just string a bunch of these raw Selenium commands together, but that script will get messy and hard to maintain in a hurry. This is exactly where Pytest steps in to transform a simple script into a professional test suite, and one of its best features for the job is fixtures.
A fixture is just a function that Pytest runs before (and sometimes after) a test. They are perfect for handling all the setup and teardown logic, like opening a browser window before a test and closing it afterward. This keeps your actual test code clean, focused, and readable.
By using Pytest fixtures to manage the browser instance, you ensure every single test starts with a clean slate. This one practice dramatically reduces test flakiness and makes your tests more independent and reliable—a cornerstone of any healthy automation framework.
This approach stops state from one test from bleeding into the next, which is a massive source of confusing, hard-to-debug failures. It also means you write your setup logic once and reuse it across hundreds of tests. No more copy-pasting browser setup code everywhere.
Writing Powerful Assertions and Organizing Suites
After your script performs an action, you have to verify the outcome. A test without an assertion isn’t really a test; it’s just a script that clicks around. Thankfully, Pytest’s simple assert statement is all you need.
Going back to our login example, after clicking the login button, you’d want to assert that the URL has changed to the inventory page or that a “Products” header is now visible. A good assertion is specific and directly validates the business rule you’re testing.
As your collection of tests grows, keeping things organized becomes critical. Pytest’s markers are fantastic for this. You can tag tests with custom labels like @pytest.mark.smoke for your most critical-path checks or @pytest.mark.regression for the full, comprehensive suite. This gives you the power to run specific subsets of tests, making your CI/CD pipelines faster and much more efficient.
Stress-Testing Your App with GoReplay Traffic
Scripted tests are great for checking known user paths and specific business logic, but they have a massive blind spot. They just can’t replicate the sheer chaos of real-world production traffic—the unpredictable user behavior, weird request sequences, and concurrent actions that expose the most subtle and damaging bugs. This is exactly where you need to level up your test automation with Python.
To find the kind of bugs that only show up under pressure, you have to test with a realistic load. That’s where GoReplay, an open-source traffic mirroring tool, completely changes the game. It lets you capture live HTTP traffic from your production environment and replay it against your staging or local setup. This isn’t just another simulation; it’s a faithful recreation of how real people actually use your application.
Uncovering Hidden Bugs with Real Traffic
By replaying actual user sessions, you uncover a whole class of bugs that scripted tests almost always miss. These are the kinds of issues that keep engineers up at night.
- Concurrency Issues: What happens when a hundred users all try to update the same record at once? GoReplay will expose race conditions that are nearly impossible to script by hand.
- Performance Regressions: A tiny code change might pass all the unit tests but introduce a major slowdown under a real-world load. Replaying traffic makes these regressions glaringly obvious.
- Resource Leaks: Some memory or connection leaks only pop up after the application has been running under sustained, varied traffic for a while.
This whole technique bridges the gap between your clean, predictable test environments and the messy, unpredictable reality of production. It lets you battle-test your system against its own history.
Using production traffic for testing is the ultimate form of “shift-left” validation. You’re not just guessing what users might do; you’re using concrete evidence of their actual behavior to harden your application before a new release ever goes live.
Integrating GoReplay with Your Python Tests
The real magic happens when you combine GoReplay with your existing Pytest suite. The idea is to trigger a traffic replay and then immediately run your Python scripts to validate the application’s state. You’re not just throwing traffic at the wall and hoping for the best; you’re methodically checking to see if anything broke under the strain. For a deep dive on getting it all configured, check out this excellent walkthrough on the GoReplay setup for testing environments on goreplay.org.
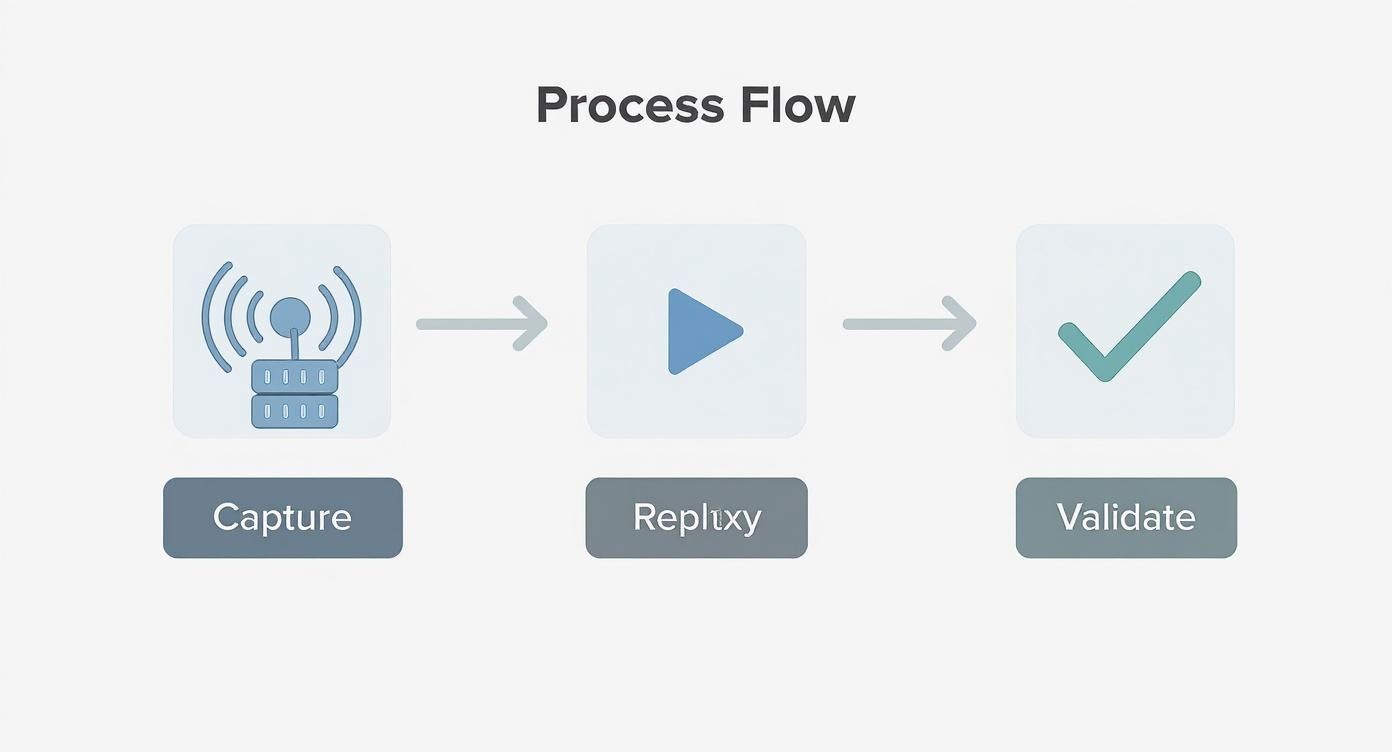
Picture a workflow like this:
- Capture Traffic: First, you use GoReplay to listen to your production server, saving all the incoming traffic to a file.
- Trigger Replay: In your CI pipeline or a dedicated testing script, you kick off a GoReplay command that points this captured traffic right at your staging environment.
- Run Python Validations: As soon as the replay finishes, your Pytest suite jumps into action. These aren’t UI tests; they are deep, backend-focused health checks.
Your Python scripts can connect directly to the database to verify data integrity, query APIs to check for unexpected error rates, or even parse logs to make sure no critical exceptions were thrown during the load. This combination gives you a definitive answer: did our system withstand a realistic production load without corrupting data or tanking performance? It’s a powerful way to build confidence before every single deployment.
Embedding Automation into Your CI/CD Pipeline
Your Python tests are great, but they only become a real safety net when they run automatically. Let’s be honest, manually running tests is a step up from nothing, but it’s not a strategy. Integrating them into your Continuous Integration/Continuous Deployment (CI/CD) pipeline is what turns a periodic chore into a proactive quality gate that guards your codebase 24/7.
The concept is straightforward: every time a developer pushes new code, the CI/CD pipeline kicks off. It automatically grabs the changes, builds the application, and unleashes your test suite on it. This loop provides immediate feedback, catching bugs in minutes instead of letting them fester for days or weeks. A failed test run stops bad code from ever getting merged, keeping your main branch clean and stable.
Configuring Your CI/CD Workflow
Tools like GitHub Actions make this incredibly accessible. You define the entire process in a simple .yml file that lives right alongside your code. This “pipelines as code” approach is fantastic because it puts your automation workflow under version control, making it transparent and auditable for the whole team.
Here’s a glimpse of the GitHub Actions interface, which gives you a clear visual of how your workflows are running.
This kind of visualization is invaluable. It helps everyone on the team quickly spot failures and understand the entire automated journey from a developer’s commit all the way to a potential deployment.
A typical workflow file breaks down into a few key jobs:
- Checkout Code: Grabs the latest version of your source code from the repository.
- Set up Python: Installs the exact version of Python your project depends on.
- Install Dependencies: Runs
pip install -r requirements.txtto build the testing environment from scratch. - Run Tests: Kicks off your test suite with a command like
pytest.
This setup guarantees that your tests always execute in a fresh, consistent environment. It’s the ultimate fix for the classic “but it works on my machine!” problem.
Strategies for Efficient Pipeline Testing
You don’t need to—and probably shouldn’t—run your entire, hours-long regression suite on every single commit. That would slow development to a crawl. A much smarter approach is to run different tests at different stages.
For instance, you could configure your pipeline to run a quick set of smoke tests on every pull request. This gives developers near-instant feedback. Then, you can schedule the full, heavy-duty regression suite to run nightly against the main development branch. This balanced strategy gives you the best of both worlds: rapid feedback and deep, comprehensive validation. If you want to dive deeper, there are many proven strategies for CI/CD pipeline optimization.
Before you start, it’s helpful to have a clear plan. This checklist breaks down the key steps for integrating your Python tests into a CI/CD pipeline smoothly.
CI/CD Integration Checklist
| Step | Purpose | Key Consideration |
|---|---|---|
| Choose a CI/CD Tool | Select the platform that will orchestrate your builds and tests. | Does it integrate well with your version control system (e.g., GitHub, GitLab)? |
| Define Workflow Triggers | Decide when your tests should run automatically. | Trigger on every push, pull request, or on a nightly schedule? |
| Configure Environment | Ensure a clean and reproducible testing environment. | Use a requirements.txt or Pipfile to manage dependencies. |
| Add Test Execution Step | Add the command to run your test suite in the pipeline. | Use pytest or unittest. Ensure you capture exit codes correctly to fail the build on test failures. |
| Implement Notifications | Alert the team about build and test statuses. | Configure Slack, email, or other alerts for both successful and failed builds. |
| Optimize Run Times | Keep the feedback loop fast for developers. | Consider running tests in parallel or splitting them into different stages (smoke, full regression). |
Following these steps will help you build a robust and efficient pipeline that truly empowers your development team. It’s about building a culture of quality, not just a set of scripts.
Integrating Python tests into a CI/CD pipeline isn’t just about automation; it’s about building a culture of quality. It empowers developers to deploy with confidence, knowing a robust safety net is always in place to protect the user experience.
The business impact here is very real. One organization that put Python-based automation at the core of its cloud workflows saw a 35% boost in performance, a 50% reduction in operational costs, and a 40% increase in scalability. This is the kind of efficiency that makes a real difference.
Common Questions on Python Test Automation
When you’re deep in the weeds building and scaling a test suite, the same practical questions always seem to pop up. Getting clear answers is the key to making smart decisions and not painting yourself into a corner. Let’s tackle some of the most frequent hurdles engineers face with test automation in Python.
What Is the Difference Between Selenium and Pytest
This one comes up all the time, but the relationship is actually pretty simple. Think of them as partners, not competitors.
Selenium is the “driver”—it’s the tool that physically interacts with a web browser. It’s what performs the actions a real user would, like clicking buttons, typing into forms, and navigating between pages.
Pytest, on the other hand, is the “brain.” It’s the framework that organizes your tests, runs the suite, and gives you detailed reports on what passed and failed. It also manages all your setup and teardown logic with fixtures, which is a massive help. You write your test logic inside a Pytest structure, and from there, you call Selenium commands to make the browser do things.
You really need both to build a robust UI automation suite. Pytest provides the structure and intelligence, while Selenium provides the hands to interact with the web app. One without the other is an incomplete puzzle.
Can Python Automate More Than Web Apps
Absolutely. This is honestly one of Python’s greatest strengths in the testing world. While Selenium is the undisputed king for web UIs, Python’s versatility goes far beyond the browser. This lets you build a unified testing strategy in a single language, which is a huge win for team collaboration and code reuse.
Here are just a few examples of what else you can tackle:
- API Testing: The
requestslibrary is incredibly powerful and makes it dead simple to send HTTP requests to your backend services and assert the responses. - Mobile App Automation: Frameworks like Appium use the same Selenium WebDriver protocol, allowing you to automate native and hybrid apps on both iOS and Android.
- Desktop Applications: For more specialized cases, libraries like
pywinautoorpyautoguican interact with native desktop applications.
How Should I Handle Tests That Depend on Each Other
The short answer? You don’t. Or at least, you should try everything in your power to avoid it.
Best practice is to design every single test to be completely independent and self-contained. Dependencies are a fast track to a brittle, flaky, and downright painful test suite to maintain. When one test fails, it creates a domino effect, causing a cascade of failures in other tests that rely on it. Good luck diagnosing the root cause then.
Pytest fixtures are the perfect tool for enforcing this independence. They handle all the necessary setup (like creating a user or logging in) before each test runs and then clean everything up afterward. This ensures every test starts from a known, clean slate.
For those extremely rare cases where a specific execution order is unavoidable—like a complex end-to-end workflow—you can use a plugin like pytest-dependency. But treat this as a last resort, not a standard practice.
At GoReplay, we know that even the most well-written tests can’t replicate the chaos of production. By capturing and replaying real user traffic, you can validate your application’s stability under real-world conditions, catching those subtle bugs that scripted tests always miss. Learn how to truly harden your application by visiting us at https://goreplay.org.