Automated Testing in Python A Practical Guide
Automated tests in Python are pretty straightforward: you use a framework like Pytest or Unittest to write scripts that automatically check if your software is working as expected. This isn’t just about finding problems—it’s about catching bugs early, making your code more reliable, and dramatically speeding up the development cycle by taking repetitive manual checks off your plate.
Why Python is the Go-To for Test Automation
When you talk to teams about test automation, Python almost always comes up first. There are good reasons for that. The language is famously simple, but that simplicity goes deeper than just clean syntax. It means you can go from a testing idea to a working script much faster.
This readability also has a great side effect: your tests become easier for the whole team to understand and maintain. It helps build a culture where everyone feels responsible for quality, not just the QA engineers.
But the real magic behind Python’s dominance in testing is its massive, mature ecosystem. You rarely have to build anything from the ground up. Instead, you can pull from a huge collection of specialized tools to get the job done right.
A Powerful Ecosystem of Tools
Python’s strength really shines through its libraries, which cover pretty much every testing scenario you can think of. This support system lets you build a solid, comprehensive strategy that covers your entire application stack.
- Pytest: This has become the unofficial standard for a reason. Its simple syntax and powerful features are perfect for everything from basic unit tests to complex functional testing. It cuts down on boilerplate and just makes your tests easier to read and write.
- Selenium & Playwright: When you need to test what your users actually see and do, these libraries are indispensable. They give you powerful APIs to control web browsers, letting you automate clicks, form submissions, and other user actions.
- Requests: Testing APIs? The Requests library makes sending HTTP requests and checking responses clean and direct. It strips away all the complexity.
This blend of simplicity and a rich toolkit is why Python has become so popular. It’s now the most-used programming language among testers worldwide. The numbers back it up, too—the automation testing market is on track to hit $55.2 billion by 2028, and Python frameworks are a huge part of that growth. For more on testing trends, TestGuild is a great resource.
The real advantage is that Python lets you focus on your test logic, not on fighting with a complex language or framework. In a fast-moving development world, that kind of efficiency is priceless.
And when you integrate Python tests into a CI/CD pipeline with tools like GitHub Actions or GitLab CI, you create a seamless workflow. Every single code change gets verified automatically, which helps your team ship more reliable software, faster.
Building Your Python Testing Environment
A reliable testing strategy is built on a solid foundation. Before you write a single line of test code, you need a clean, isolated, and scalable environment. Getting this right from the start is the key to consistent, dependable automated tests—and saving yourself a ton of headaches down the road.
The absolute first step is creating a virtual environment. This simple practice keeps your project’s dependencies neatly separated from your global Python installation, which is crucial for avoiding version conflicts between different projects. Think of it as a clean sandbox for every application you build.
Python’s built-in venv module is the standard way to do this. Just navigate to your project’s root directory and run one simple command:
python -m venv venv
Once that’s done, you just need to activate it. On macOS or Linux, you’ll use source venv/bin/activate. On Windows, it’s venv\Scripts\activate. You’ll know it’s working when your command prompt changes to show you’re inside the new environment, ready to go.
Choosing and Installing Your Framework
With your environment active, it’s time to pick a testing framework. Python comes with the unittest library built-in, but honestly, most developers I know prefer Pytest. Its simpler syntax and powerful features cut down on boilerplate code, making your tests far more readable and easier to maintain.
You can get it installed with a quick pip command:
pip install pytest
And just like that, you’ve equipped your environment with one of the most popular and flexible testing tools out there. Pytest also has a massive plugin ecosystem, so you can easily extend it for specific needs like web or API testing.
Pytest’s whole philosophy is to make simple things easy and complex things possible. Its use of plain
assertstatements for checks—instead of clunkyassertEqual()methods—is a perfect example of how it just makes a developer’s life better.
This infographic really drives home how powerful libraries like Pytest have become a cornerstone of modern development.
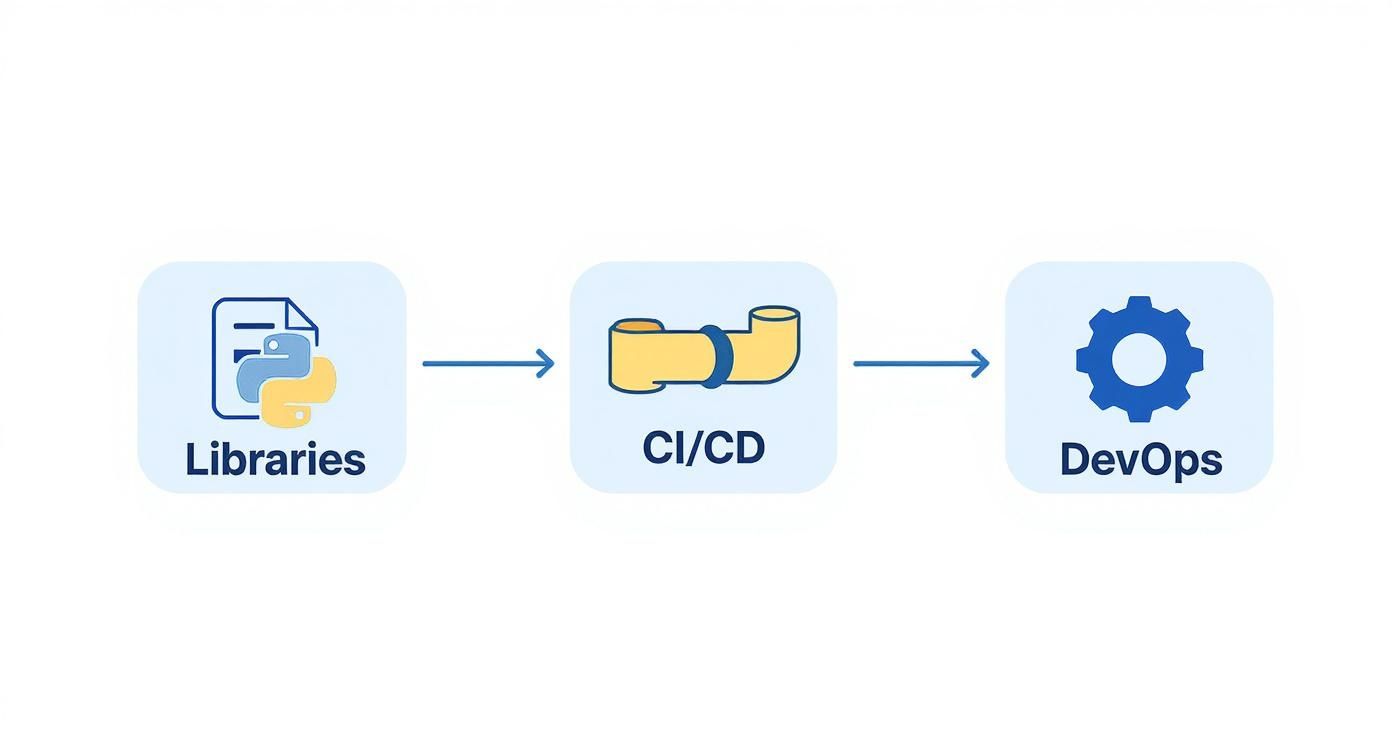
As you can see, a strong library ecosystem directly fuels effective CI/CD and DevOps practices, which is how teams deliver better software, faster.
Choosing Your Python Testing Framework
Deciding between Pytest and unittest often comes down to your project’s needs and your team’s preferences. Pytest is loved for its simplicity and powerful features, while unittest is a solid, battery-included option that requires no extra installation. Here’s a quick breakdown to help you choose.
| Feature | Pytest | Unittest |
|---|---|---|
| Syntax | Uses plain assert statements, leading to cleaner, more readable code. | Requires specific self.assertEqual() and similar assertion methods. |
| Boilerplate | Minimal setup required. Test functions don’t need to be in a class. | Requires tests to be methods within a class that inherits from unittest.TestCase. |
| Fixtures | Advanced, reusable fixtures for setup/teardown with dependency injection. | Basic setUp() and tearDown() methods for setup and cleanup. |
| Plugin Ecosystem | Extensive. Hundreds of plugins available for nearly any use case. | Limited. Extensibility is not its primary focus. |
| Community | Extremely active and growing, considered the modern standard. | Part of the standard library, well-documented and stable. |
Ultimately, for new projects, Pytest is often the way to go. Its modern approach significantly improves productivity. However, if you’re working on a legacy project or prefer to stick with standard libraries, unittest is still a perfectly capable choice.
Organizing Your Project for Scalability
As your test suite grows, a good project structure is what keeps it from becoming a tangled mess. A common and highly effective practice is to place all your tests in a dedicated tests/ directory at the root of your project.
Here’s a practical structure I like to start with:
my_project/: This is where your main application code lives.tests/: A separate folder for every single test file.venv/: The virtual environment directory you created earlier.requirements.txt: A file listing all your project’s dependencies.
Within the tests/ directory, you can even mirror the structure of your application code. For instance, if you have a module at my_project/api/, you could create a corresponding tests/api/ folder for its tests. This kind of organization just makes everything intuitive. If you want to explore more advanced configurations, our guide on a professional test environment setup covers some great strategies.
This structured approach, combined with the power of Pytest and the isolation of a virtual environment, gives you the professional foundation you need for truly effective automated testing in Python. It’s a setup built for growth and maintainability right from day one.
Writing Your First Meaningful Pytest Tests
Okay, you’ve got your environment set up. Now it’s time to ditch the theory and write tests that actually do something useful. Forget “hello world”—we’re going to tackle a scenario that mirrors what you’d actually build: validating a core business function.
This is where you’ll see the magic of Pytest. It gets rid of all the boilerplate that makes testing feel like a chore, letting you zero in on the logic you need to verify. One of its best features is how it finds your tests without you having to configure a thing. Just name your files test_*.py and your functions test_*(), and Pytest handles the rest.
Your First Functional Test
Let’s imagine you’re building an e-commerce platform. One of the most critical functions is calculating an item’s final price with sales tax. It sounds simple, but if this breaks, you’ve got a serious problem.
Here’s the function we need to test, which might live in a file called my_project/pricing.py:
my_project/pricing.py
def calculate_final_price(base_price, tax_rate): """Calculates the final price including tax.""" if not 0 <= tax_rate <= 1: raise ValueError(“Tax rate must be between 0 and 1”) return base_price * (1 + tax_rate)
To validate this, we’ll create tests/test_pricing.py. Look how clean this is—it’s just a standard Python function with a plain assert statement. No complex setup, no special classes to inherit from.
tests/test_pricing.py
from my_project.pricing import calculate_final_price
def test_calculate_final_price_with_standard_tax(): """Verify that a standard tax rate is applied correctly.""" assert calculate_final_price(100, 0.05) == 105.0
def test_calculate_final_price_with_zero_tax(): """Ensure that a zero tax rate results in the base price.""" assert calculate_final_price(200, 0) == 200.0
To run these, just pop open your terminal in the project’s root directory and type pytest. Pytest will instantly find tests/test_pricing.py, run both test functions, and give you a clear pass/fail report.
Managing State with Fixtures
So, what happens when your tests need a resource, like a temporary database connection or a pre-configured object? This is where Pytest fixtures come in, and they’re a game-changer. Think of a fixture as a function that provides a reliable, fixed starting point for your tests.
Let’s say you have a shopping cart class that needs to be initialized before several different tests can run. Instead of creating a new instance inside every single test, you define one fixture.
A fixture is more than just setup code; it’s a powerful tool for dependency injection. It neatly separates the what from the how, making your tests cleaner, more modular, and way easier to reuse. This is easily one of Pytest’s most celebrated features.
You can put shared fixtures in a special file called conftest.py inside your tests/ directory so they’re available across your entire test suite.
Here’s what that looks like in practice:
tests/conftest.py
import pytest from my_project.cart import ShoppingCart
@pytest.fixture def empty_cart(): """Provides an empty ShoppingCart instance for tests.""" return ShoppingCart()
Now, any test function that needs a fresh, empty cart can just ask for it by name. Just add empty_cart as an argument, and Pytest automatically provides it.
tests/test_cart.py
def test_add_item_to_cart(empty_cart): """Tests adding a single item to an empty cart.""" empty_cart.add_item(“apple”, 1.50) assert empty_cart.get_total() == 1.50 assert “apple” in empty_cart.items
def test_cart_is_initially_empty(empty_cart): """Verifies that the new cart fixture is empty.""" assert empty_cart.get_total() == 0 assert not empty_cart.items
By using the empty_cart fixture, we guarantee that each test starts with a clean slate, which is absolutely fundamental for reliable automated testing in Python. This approach keeps your code DRY (Don’t Repeat Yourself) and makes your test suite much easier to scale and maintain.
How to Structure and Scale Your Test Suite
Managing a dozen tests is one thing. Keeping hundreds organized, fast, and maintainable is a completely different beast. As your application grows, your test suite has to keep pace, and without a solid structure, it can quickly become a slow, unmanageable mess.
This is where you move beyond the basics of automated testing in Python and start thinking like an architect. The secret to scaling isn’t just writing more tests—it’s about organizing them intelligently so you can run the right tests at the right time. Luckily, Pytest has some fantastic features built just for this.
Using Markers to Organize Test Runs
One of the most powerful tools in your arsenal is Pytest’s marker system. Think of markers as custom tags you can stick on your test functions to categorize them. This simple concept unlocks a huge amount of control over which tests you run and when, which is an absolute game-changer in a CI/CD pipeline.
For instance, you could create a smoke marker for a small, lightning-fast set of tests that verify the absolute core functionality is working. These are perfect to run on every single commit. You could also have a regression marker for a much larger, slower suite that runs less often, maybe just once a night.
Here’s what that looks like in practice:
import pytest
@pytest.mark.smoke def test_user_login_success(): # A critical-path test assert login(“user”, “pass”) is True
@pytest.mark.regression def test_all_profile_fields_update(): # A more thorough but slower test assert update_all_fields() is True
With those markers in place, you can tell Pytest exactly what to do from the command line:
pytest -m smokeruns only the critical smoke tests.pytest -m "not smoke"runs everything except the smoke tests.
This level of control is crucial for an effective test automation strategy. You get rapid feedback where it matters most, without sitting around waiting for a full, time-consuming test run every time you push a minor change.
Eliminating Repetition with Parameterization
Another headache you’ll run into as your suite grows is duplicated test code. Let’s say you need to test a function with ten different inputs. You could write ten nearly identical test functions, but that’s a maintenance nightmare waiting to happen.
Pytest’s @pytest.mark.parametrize decorator is the elegant solution. It lets you run a single test function multiple times with different arguments. This keeps your code DRY (Don’t Repeat Yourself) and makes adding new test cases trivial.
Let’s go back to our pricing function and really put it through its paces with a few different scenarios, including some edge cases:
import pytest from my_project.pricing import calculate_final_price
@pytest.mark.parametrize(“base, tax, expected”, [ (100, 0.05, 105.0), # Standard case (200, 0, 200.0), # Zero tax (99.99, 0.075, 107.48925), # Decimal case (0, 0.10, 0.0) # Zero base price ]) def test_final_price_calculations(base, tax, expected): assert calculate_final_price(base, tax) == pytest.approx(expected)
Just like that, one function now covers four distinct test cases. Need to test fifty more? You just add more tuples to the list. It’s that simple.
For a deeper dive into building a robust framework, our guide on creating a test automation strategy offers some great insights. Mastering these techniques is your playbook for building a Python test suite that not only scales but actually thrives as your project gets more complex.
Debugging Failures and Interpreting Results
https://www.youtube.com/embed/hImEiipjwTs
A failing test isn’t a problem—it’s a signpost pointing you directly to a bug. Learning to read the output from your automated testing in Python efficiently is one of the most valuable skills you can develop. It turns a frustrating bug hunt into a systematic and speedy fix.
When you run pytest, the output gives you immediate feedback. A dot (.) means a test passed, an F signals a failure from a broken assert statement, and an E indicates an unexpected error, like an exception your code didn’t handle.
A failure is your starting point. Pytest provides a detailed traceback, a map that shows the exact path the code took before it broke. Read it from the bottom up to find the specific line in your test file that failed. This is your first clue to understanding what went wrong.
Essential Command-Line Flags for Debugging
Pytest comes with several command-line flags that are indispensable for efficient debugging. Integrating these into your workflow will save you countless hours.
-v(verbose): This gives you more detailed output, showing the name of each test function as it runs instead of just dots. It’s great for seeing exactly which test failed in a long run.--lf(last-failed): This is a lifesaver. It reruns only the tests that failed during the last session, letting you focus solely on the broken parts of your code.-x(exit-on-first-failure): When you have a critical failure that might cause a cascade of other errors, this flag stops the entire test run immediately after the first test fails.
These flags help you quickly isolate issues without getting overwhelmed by a long list of failures.
The goal of debugging isn’t just to fix the bug in front of you; it’s to understand why it happened. A good test failure provides a clear, repeatable scenario that exposes a flaw in your application’s logic.
For more direct, hands-on debugging, the --pdb flag is your best friend. When a test fails, this command drops you directly into the Python debugger (pdb) at the exact point of failure. You can inspect variables, step through the code line by line, and experiment with different inputs to understand the state of your application when things went wrong. It’s the most direct way to diagnose and solve complex issues uncovered by your tests.
Common Questions on Python Test Automation
When developers first start exploring automated testing in Python, a few questions pop up almost immediately. The whole ecosystem of tools can feel a bit overwhelming at first, but once you see how the main pieces fit together, it all starts to click. Let’s tackle some of the most common points of confusion.
One of the first hurdles is just telling the tools apart. I see a lot of newcomers asking about the difference between Pytest and Selenium, thinking they have to choose one over the other. The truth is, they do completely different jobs but work together perfectly.
Pytest vs. Selenium: What’s the Difference?
The easiest way to think about it is like this: Pytest is the conductor of an orchestra, and Selenium is a highly specialized musician.
- Pytest is a testing framework. It gives you the structure, tools, and engine to write, organize, and run your tests. It’s what finds your test files, manages setup and teardown (fixtures), and gives you a report at the end.
- Selenium is a browser automation library. Its entire job is to control a web browser. It simulates a user clicking buttons, typing into forms, and navigating between pages.
You write Selenium commands inside a Pytest test function to drive the browser. Pytest orchestrates the entire test run, tells Selenium what to do, and then reports on whether it succeeded. They’re partners, not rivals.
Can I Test More Than Just Web Apps?
Absolutely. While UI testing with Selenium gets a ton of the spotlight, Python and Pytest are incredibly versatile. The same core principles of automated testing apply to pretty much any part of your application. You can—and should—write tests for your entire stack.
This could include:
- API Testing: Are your endpoints returning the right data and status codes?
- Database Interactions: Is data being written and read from your database correctly?
- Command-Line Tools: Does your CLI app behave as expected with different flags and inputs?
- Data Pipelines: Are your data transformations working right and maintaining integrity?
The central idea is always the same, no matter what you’re testing: write code that automatically proves your other code works as expected.
The real power of a solid Python testing suite is its ability to provide a comprehensive safety net for your entire system, not just the parts users see in a browser.
How Do I Add My Tests to a CI/CD Pipeline?
This is the final, and arguably most important, step. Getting your tests running automatically in a CI/CD pipeline like GitHub Actions or GitLab CI is what truly unlocks the power of automation.
The setup is usually pretty straightforward. Inside your pipeline’s configuration file (like a .yml file), you’ll define a job with a few key steps. First, you’ll need a command to install your project’s dependencies from your requirements.txt file, which should obviously include Pytest.
After that, you just add the command to run your tests: pytest. That’s it. If any test fails, Pytest exits with a non-zero status code, which is the universal signal for “something went wrong.” The CI/CD platform sees that, fails the build, and stops you from accidentally deploying broken code. It’s your automated gatekeeper.
At GoReplay, we believe testing should mirror reality. Instead of relying only on synthetic data you’ve written by hand, you can capture and replay your actual production traffic. This lets you validate your application’s stability and performance under the most realistic conditions possible. You can discover a more robust testing strategy with GoReplay.