A Practical Guide to Apache HTTPD Reverse Proxy Configuration

An Apache httpd reverse proxy is a powerful intermediary that sits in front of your application servers. It takes all incoming requests from clients and smartly forwards them to one or more backend servers, effectively hiding your internal infrastructure from the public internet. This setup is a cornerstone of modern web architectures, handling critical jobs like load balancing, SSL termination, and security enforcement all in one place.
Why Apache Is Still a Powerhouse for Reverse Proxying

Before we start digging into configuration files, let’s talk about why Apache is still a go-to for this job. Sure, newer tools have grabbed the spotlight, but Apache’s biggest strength is its longevity. It brings decades of battle-tested stability and a ridiculously flexible module system to the table.
The magic really starts with mod_proxy, a robust module that serves as the foundation for routing traffic. By pairing it with other modules, you can build a highly customized and resilient gateway for your web applications.
Key Strengths in Real-World Scenarios
Picture this: you’re running a handful of Node.js application servers. An Apache reverse proxy can sit in front and distribute incoming traffic evenly across all of them, which means no single server gets overwhelmed. This doesn’t just boost performance; it also gives you high availability. If one of your app servers goes down, Apache just stops sending traffic its way and routes it to the healthy ones. Simple as that.
This flexibility makes Apache a practical fix for a ton of common headaches:
- Centralized SSL Management: Forget about installing and renewing SSL/TLS certificates on every single backend server. You handle it once on the Apache proxy, which drastically simplifies certificate management and tightens up your security.
- Enhanced Security: By hiding your backend servers, the proxy acts as a shield. You can set up access controls, rate limiting, and other security rules right on Apache before any malicious traffic even gets close to your application.
- Improved Performance: With modules like
mod_cache, Apache can store and serve static content like images and CSS files directly. This takes a huge load off your application servers, letting them focus on dynamic requests.
A key advantage of using an Apache HTTPD reverse proxy is its modularity. You can start with a simple setup and gradually add advanced features like load balancing, WebSocket support, or complex rewriting rules without having to switch platforms.
Apache HTTP Server has been a cornerstone of the web for a long time, and its role as a reverse proxy backbone is as strong as ever. Data from W3Techs in early 2025 shows Apache still powers 24.9% of all known web servers. This wide adoption speaks to its reliability, especially in environments where security is a top priority and features like load balancing and caching are essential. You can read more about Apache’s market influence and its role in the growing proxy server market.
Your First Apache Reverse Proxy Configuration

Alright, let’s dive into your first Apache httpd reverse proxy setup. It’s a lot more straightforward than it sounds. The first thing you absolutely have to do is make sure the right modules are enabled. Without them, Apache won’t know what to do with your proxy directives.
At a bare minimum, you’ll need mod_proxy and mod_proxy_http. Think of mod_proxy as the core engine and mod_proxy_http as the specialized part that understands how to handle HTTP traffic.
Quick Module Reference
Before we go further, it’s helpful to know the key players in this setup. Here’s a quick rundown of the essential modules you’ll encounter and what they’re responsible for.
| Essential Apache Proxy Modules and Their Roles | ||
|---|---|---|
| Module Name | Primary Function | When You Need It |
mod_proxy | The main proxy module. Provides the core proxying capabilities. | Always. This is the foundation for any reverse proxy setup. |
mod_proxy_http | Handles proxying for HTTP and HTTPS requests. | Always. This lets Apache forward standard web traffic. |
mod_proxy_wstunnel | Adds support for tunneling WebSocket connections (ws:// and wss://). | When your backend application uses WebSockets for real-time communication. |
mod_proxy_balancer | Enables load balancing capabilities across multiple backend servers. | When you need to distribute traffic for high availability or scalability. |
mod_slotmem_shm | Provides a shared memory manager used by the balancer. | Required when using mod_proxy_balancer for load balancing. |
mod_headers | Allows you to manipulate HTTP request and response headers. | For advanced configurations like adding X-Forwarded-For or custom headers. |
This table serves as a handy cheat sheet as you build out more complex configurations. For now, we’ll stick to the basics.
Firing Up The Right Modules
Getting the modules running is simple. If you’re on a Debian-based system like Ubuntu, you can use Apache’s handy helper scripts.
sudo a2enmod proxy proxy_http sudo systemctl restart apache2
On RHEL-based systems like CentOS, these modules are usually already loaded. You can double-check the configuration files in /etc/httpd/conf.modules.d/. If for some reason they’re commented out, just remove the # and restart the service.
Building a Basic VirtualHost
With the modules active, it’s time to create a VirtualHost. This is where you tell Apache how to direct traffic for a specific domain.
Let’s imagine a common scenario: you’ve built a Node.js app that’s running locally on port 3000, but you want it to be accessible to the outside world on the standard HTTP port 80.
You’d create a configuration file—let’s call it yourapp.conf—inside /etc/apache2/sites-available/ that looks something like this:
<VirtualHost *:80> ServerName yourdomain.com
ProxyPass / http://127.0.0.1:3000/
ProxyPassReverse / http://127.0.0.1:3000/

ErrorLog ${APACHE_LOG_DIR}/yourapp_error.log
CustomLog ${APACHE_LOG_DIR}/yourapp_access.log combined
This simple block is the heart of the whole setup. The real magic happens in those two Proxy directives.
Understanding ProxyPass and ProxyPassReverse
The ProxyPass and ProxyPassReverse directives are the true workhorses here. They might look redundant, but they handle opposite ends of the conversation between the client, Apache, and your backend app.
-
ProxyPass / http://127.0.0.1:3000/: This directive handles incoming requests. It’s an instruction to Apache: “Hey, any request that comes in for the root (/) of this domain? Forward it straight over to the application running athttp://127.0.0.1:3000/.” -
ProxyPassReverse / http://127.0.0.1:3000/: This one deals with outgoing responses. If your backend app sends back a redirect (like aLocationheader in the response), it’s going to use its own internal address.ProxyPassReversecatches that header and rewrites it to use the public-facing proxy address, so the user’s browser gets sent to the right place.
Why is this so important? Without
ProxyPassReverse, if your Node.js app atlocalhost:3000tries to redirect a user to a login page at/login, the browser might be sent to the wrong address:http://127.0.0.1:3000/login. The user’s browser can’t access that! This directive is absolutely crucial for a seamless experience.
Once your configuration is in place, you’ll want to test it properly. To really make sure everything is flowing as it should, especially as you build more complex setups, using a traffic mirroring tool is a game-changer. You can learn more about how to capture HTTP traffic to analyze and replay it in a test environment, ensuring your proxy behaves perfectly under real-world conditions.
Implementing SSL Termination for Secure Traffic
Secure web traffic isn’t just a nice-to-have anymore; it’s a requirement. One of the best ways to handle this with an Apache httpd reverse proxy is through SSL termination. This strategy centralizes all your SSL/TLS certificate headaches on the proxy server itself.
The proxy takes on the job of handling encrypted HTTPS traffic from your users. It decrypts the requests and then passes clean, unencrypted HTTP traffic to your backend servers over a secure private network. This frees up your application servers from the computational overhead of encryption, letting them focus purely on what they do best. It also makes certificate renewals a breeze.
Crafting a Secure VirtualHost
To get SSL termination running, you’ll need to configure a VirtualHost to listen on port 443, the standard for HTTPS. The setup is similar to a basic proxy configuration, but with a few crucial SSL directives thrown in. You’ll need mod_ssl enabled for this, which is typically on by default in modern Apache installs.
Here’s a real-world example of what a secure VirtualHost looks like when it’s terminating SSL and proxying requests to a backend service:
<VirtualHost *:443> ServerName yourdomain.com
# SSL Engine Configuration
SSLEngine on
SSLCertificateFile /path/to/your/certificate.crt
SSLCertificateKeyFile /path/to/your/private.key
SSLCertificateChainFile /path/to/your/chain.pem

# Proxy Directives
ProxyPreserveHost On
ProxyPass / http://127.0.0.1:8080/
ProxyPassReverse / http://127.0.0.1:8080/
SSLEngine on: This is the master switch. It tells Apache to start handling SSL/TLS for thisVirtualHost.SSLCertificateFile: Points to the main SSL certificate file you got from your Certificate Authority.SSLCertificateKeyFile: This specifies where your private key is stored. Keep this file locked down and secure.
The Role of ProxyPreserveHost
Did you spot the ProxyPreserveHost On directive in that config? It’s a small line, but it’s a lifesaver for many applications. By default, when Apache forwards a request, it changes the Host header to match the backend’s address (like 127.0.0.1:8080).
But modern web apps often need the original Host header to work correctly—for generating the right URLs, managing multi-tenant logic, or serving the right content. ProxyPreserveHost On makes sure the original host requested by the browser (yourdomain.com) gets passed straight through to the backend.
Key Takeaway: Without
ProxyPreserveHost On, your app could start generating broken redirect URLs or incorrect links for assets, leading to a terrible user experience. It’s a simple toggle that prevents a lot of potential pain.
This kind of powerful, flexible configuration is a core reason why Apache httpd remains a major player in the proxy server market. Valued at $3.4 billion in 2023, the global market is projected to more than double, hitting $7.2 billion by 2031. With its ability to use ProxyPass to distribute requests and handle complex tasks like SSL offloading, it’s no wonder Apache still powers 24.9% of known web servers. You can discover more insights about the proxy server market on verifiedmarketresearch.com.
Scaling with Load Balancing and WebSocket Support
When a single backend server just can’t keep up, your Apache httpd reverse proxy is what lets you scale out. Instead of just funneling requests to one destination, you can spread the load across a whole farm of application instances. This isn’t just about speed; it’s about building a more resilient system where one server failing doesn’t take your entire application offline.
This is where mod_proxy_balancer comes into the picture. Once you enable it along with mod_slotmem_shm, you give Apache the power to create a “balancer pool”—a group of backend servers that all share the incoming workload. It’s a game-changing feature that turns a simple proxy into a smart traffic cop.
The dance between edge proxies and powerful backends is where Apache really shines, often in ways that simple market share numbers don’t show. While plenty of setups use Nginx at the edge, Apache’s mod_proxy, mod_proxy_http, and especially mod_proxy_balancer modules make it a beast for reverse proxying to application servers. This is a critical role in a global proxy server market that hit $3.4 billion in 2023 and is expected to reach $7.2 billion by 2031. You can get a better sense of Apache’s role in complex setups on monitor.us.
Spreading the Workload with a Balancer Pool
The first step is to define your balancer pool and then add “members” to it. Think of each member as one of your backend application servers, ready to take on traffic.
Here’s a real-world example of a VirtualHost set up to balance traffic between two backend nodes:
<VirtualHost *:80> ServerName yourdomain.com
<Proxy balancer://mycluster>
    BalancerMember http://10.0.0.1:8080
    BalancerMember http://10.0.0.2:8080
</Proxy>

ProxyPass / balancer://mycluster/
ProxyPassReverse / balancer://mycluster/
With this config, Apache distributes traffic between the two BalancerMember servers. But what about stateful apps, like an e-commerce shopping cart, where a user has to stick to the same server? That’s when you bring in sticky sessions. Apache can set a cookie that routes a user back to the same backend on every subsequent request, keeping their session intact.
Pro Tip: Apache has a few different load balancing algorithms you can use, like
byrequests(the default round-robin),bytraffic, andbybusyness. Whilebyrequestsworks for most situations,bybusynesscan be a lifesaver if your backend servers have different performance capabilities.
Enabling Real-Time Chat with WebSockets
Modern apps are all about real-time features—live chats, instant notifications, you name it. This is all powered by WebSockets, which demand a special kind of proxying. A WebSocket connection starts as a standard HTTP request and then “upgrades” to a persistent, two-way communication channel.
To make this happen, you’ll need another module: mod_proxy_wstunnel. This module is built specifically to understand and proxy the ws:// and wss:// protocols.
Just enabling the module isn’t quite enough, though. You usually need to bring in mod_rewrite to spot those WebSocket upgrade requests and route them to the right tunnel, separate from your regular HTTP traffic.
Here’s how you could add WebSocket support to your configuration:
RewriteEngine on
Look for the WebSocket upgrade header in the request
RewriteCond %{HTTP:Upgrade} websocket [NC]
If it’s there, send it to the WebSocket backend
RewriteRule /(.*) ws://backend.example.com:8081/$1 [P,L]
Everything else goes to the standard HTTP backend
ProxyPass / http://backend.example.com:8080/ ProxyPassReverse / http://backend.example.com:8080/
This configuration tells Apache to peek at incoming requests. If it spots the Upgrade: websocket header, the RewriteRule’s [P] flag proxies it as a WebSocket connection. All the other normal HTTP traffic just falls through to the ProxyPass directive. Getting these complex routing rules right is crucial, and you’ll want to test them thoroughly. You might find our guide on how to replay production traffic for realistic load testing helpful to make sure everything holds up under real-world pressure.
Optimizing Performance and Hardening Security
Getting your Apache httpd reverse proxy up and running is just the start. A working proxy is good, but a fast and secure one is what we’re really after. Once traffic is flowing correctly, it’s time to shift focus to performance tuning and security hardening. These aren’t just minor tweaks; they transform your proxy from a simple traffic router into a robust, efficient gateway for your applications.
One of the quickest performance wins comes from caching. By firing up mod_cache and its related modules, you can tell Apache to store copies of backend responses. The next time a user asks for the same thing, Apache serves it straight from its cache, never even bothering the backend server. This is a game-changer for static assets like images, CSS, and JavaScript, drastically cutting down response times and easing the load on your app servers.
This flow diagram gives you a high-level view of how Apache scales, from handling initial client connections to distributing load and managing persistent WebSocket tunnels.
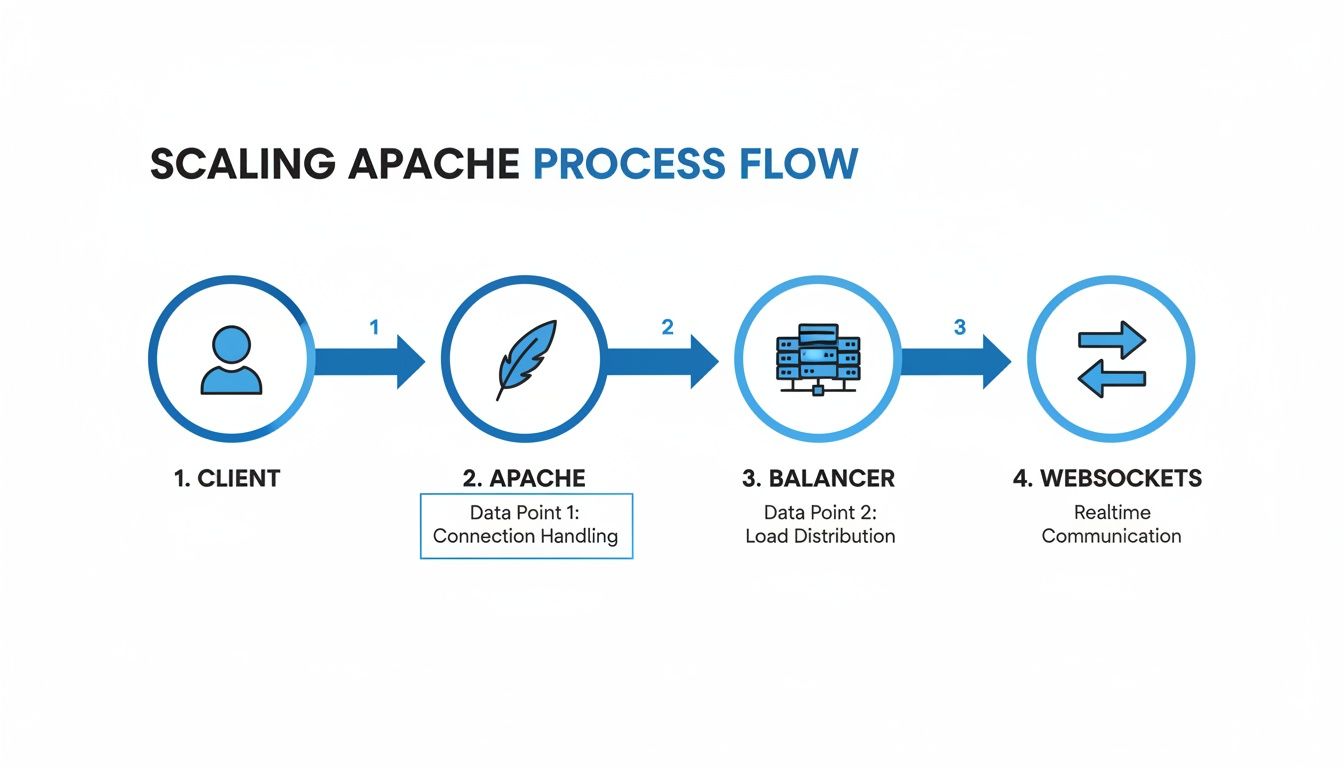
As you can see, Apache sits right in the middle, acting as a smart traffic cop that directs requests, balances loads, and keeps those critical real-time connections alive.
Fine-Tuning Caching Behavior
Setting up caching isn’t just a simple on/off switch. You get incredibly fine-grained control over what gets cached and for how long. With directives like CacheEnable and CacheDisable, you can create precise rules based on URL paths.
For example, you might want to cache everything under your /images directory while completely ignoring your dynamic /api endpoints. This kind of selective caching ensures users get a snappy experience for static content without ever seeing stale data from your API. It’s the best of both worlds.
Hardening Your Proxy Configuration
Security is every bit as critical as performance. Your reverse proxy is the front door to your application, and a few key adjustments can seriously beef up its defenses. A great place to start is with HTTP headers, all managed by the mod_headers module.
You can use it to strip out potentially sensitive information from backend responses before they ever reach a client. For instance, removing the default Server header makes it that much harder for an attacker to quickly identify your technology stack.
More importantly, you can add powerful security headers to protect your users:
Strict-Transport-Security (HSTS): Tells browsers to only communicate with your server over HTTPS, effectively shutting down downgrade attacks.X-Content-Type-Options: Setting this tonosniffstops browsers from trying to guess a response’s content type, which helps mitigate a whole class of attacks.X-Frame-Options: This is your primary defense against clickjacking, preventing other sites from embedding your pages in an<iframe>.
Critical Security Step: A misconfigured proxy can accidentally become an “open proxy,” allowing anyone on the internet to route their traffic through your server. Always lock down your configuration with specific
ProxyPassdirectives and steer clear of broad, wildcard-based rules.
Finally, don’t forget to configure your timeouts. Directives like ProxyTimeout and Timeout are essential for preventing slow or malicious clients from hogging your server’s resources. Setting reasonable values ensures that connections are closed cleanly, protecting both your proxy and your backend servers from resource exhaustion attacks. These small but crucial steps are what turn a basic Apache setup into a hardened, high-performance asset.
Common Questions About Apache Reverse Proxy Setups
As you start working with Apache’s reverse proxy, you’ll inevitably run into a few common sticking points. These are the kinds of questions that come up time and time again. Getting a handle on them is what separates a basic setup from a truly solid, production-ready configuration.
Let’s walk through some of the most frequent hurdles I’ve seen trip people up.
Can Apache Proxy to a Backend Server Using HTTPS?
Absolutely. While this guide has focused on SSL termination—where Apache handles all the encryption and talks to the backend over plain HTTP—you can just as easily have Apache re-encrypt the traffic. This creates end-to-end encryption, a must-have for many high-security environments.
To get this working, you just need to add one line inside your VirtualHost: SSLProxyEngine On.
This little directive tells mod_proxy to fire up its own SSL/TLS connection when talking to your backend. From there, your ProxyPass directive just needs to point to an https:// URL instead of http://.
Just remember, your Apache server has to trust the backend server’s SSL certificate for the connection to succeed.
How Do I Correctly Handle Redirects From My Application?
This is the classic “gotcha” that catches almost everyone at first. It’s exactly why the ProxyPassReverse directive exists.
Here’s the scene: a user logs in, and your backend application sends a redirect to http://localhost:8080/dashboard. Without ProxyPassReverse, that internal URL gets passed straight to the user’s browser, which obviously breaks everything.
The ProxyPassReverse directive is smart. It intercepts those outgoing Location headers and rewrites them on the fly to match the public-facing URL of your proxy. For a seamless experience, make sure its path perfectly mirrors your ProxyPass configuration.
Crucial Insight: A missing or misconfigured
ProxyPassReverseis the number one cause of broken redirects and “mixed content” warnings. If you see weird routing behavior after a login or a form submission, check this first.
What Is the Difference Between ProxyPass and a RewriteRule?
While both can send traffic to a backend, they’re different tools for different jobs.
-
ProxyPass: This is your go-to. It’s the dedicated, purpose-built tool for reverse proxying. It’s clean, easy to read, and handles 90% of what you’ll ever need to do. -
RewriteRule [P]: Using the[P](proxy) flag withmod_rewriteis the more surgical, powerful option. It lets you build complex, conditional proxying rules withRewriteCond. You can proxy a request based on a cookie, a query string, a specific header—almost anything.
You should only reach for RewriteRule [P] when you need conditional logic that ProxyPass just can’t handle. For instance, you could use it to route requests from mobile user agents to a different, mobile-optimized backend. Otherwise, stick with ProxyPass to keep your configuration clean and maintainable.
Ready to test your proxy configuration with real-world traffic without risking your production environment? GoReplay is an open-source tool that allows you to capture and replay live HTTP traffic, ensuring your setup is flawless before you go live. Find out how you can start testing realistically.